Menu
How to make an envelope – A step by step guide

How to make an envelope – A step by step guide

Choosing the Right Packaging for Vinted Sellers

Choosing the Right Packaging for Vinted Sellers

Christmas opening times

Christmas opening times

A Comprehensive Guide to FSC Grades in Sustainable Packaging

A Comprehensive Guide to FSC Grades in Sustainable Packaging

Chinese New Year Red Envelopes

Chinese New Year Red Envelopes

How to make an envelope – A step by step guide

Printer Friendly Tell a Friend
How to make an envelope – A step by step guide

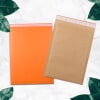
Creating your own envelopes is a simple and fun DIY project! Whether you need an envelope for a greeting card, invitation, or a unique touch for a handmade note, this guide will show you how to make an envelope using materials like white paper, coloured card, scissors, double-sided tape or glue, card blanks, and a ruler.

Materials You'll Need

  • White paper: Great for standard envelopes.
  • Coloured card: Perfect for adding a sturdy, decorative touch.
  • Scissors: To cut out the envelope shape.
  • Double sided tape or glue: To seal and secure your envelope.
  • Card blanks: To ensure your envelope fits your card perfectly.
  • Pencil and a Ruler: For precise measurements and clean lines.

Step 1: Measure Your Envelope

  1. For a precise measurement, place the card blank or item you want to fit inside the envelope onto the paper or card.
  2. Use the ruler to measure and mark a rectangular area that is about 1cm wider on all sides than the card blank. This extra space will allow the envelope to fold neatly.
Measure your envelope

Step 2: Create the Envelope Template

  1. Once you have the rectangular base, add triangles or flaps to all four sides of the rectangle. A general rule is to base the flap size on the dimensions of the card or contents itself, but this method is flexible, and you can adjust the flap size to your personal preference.

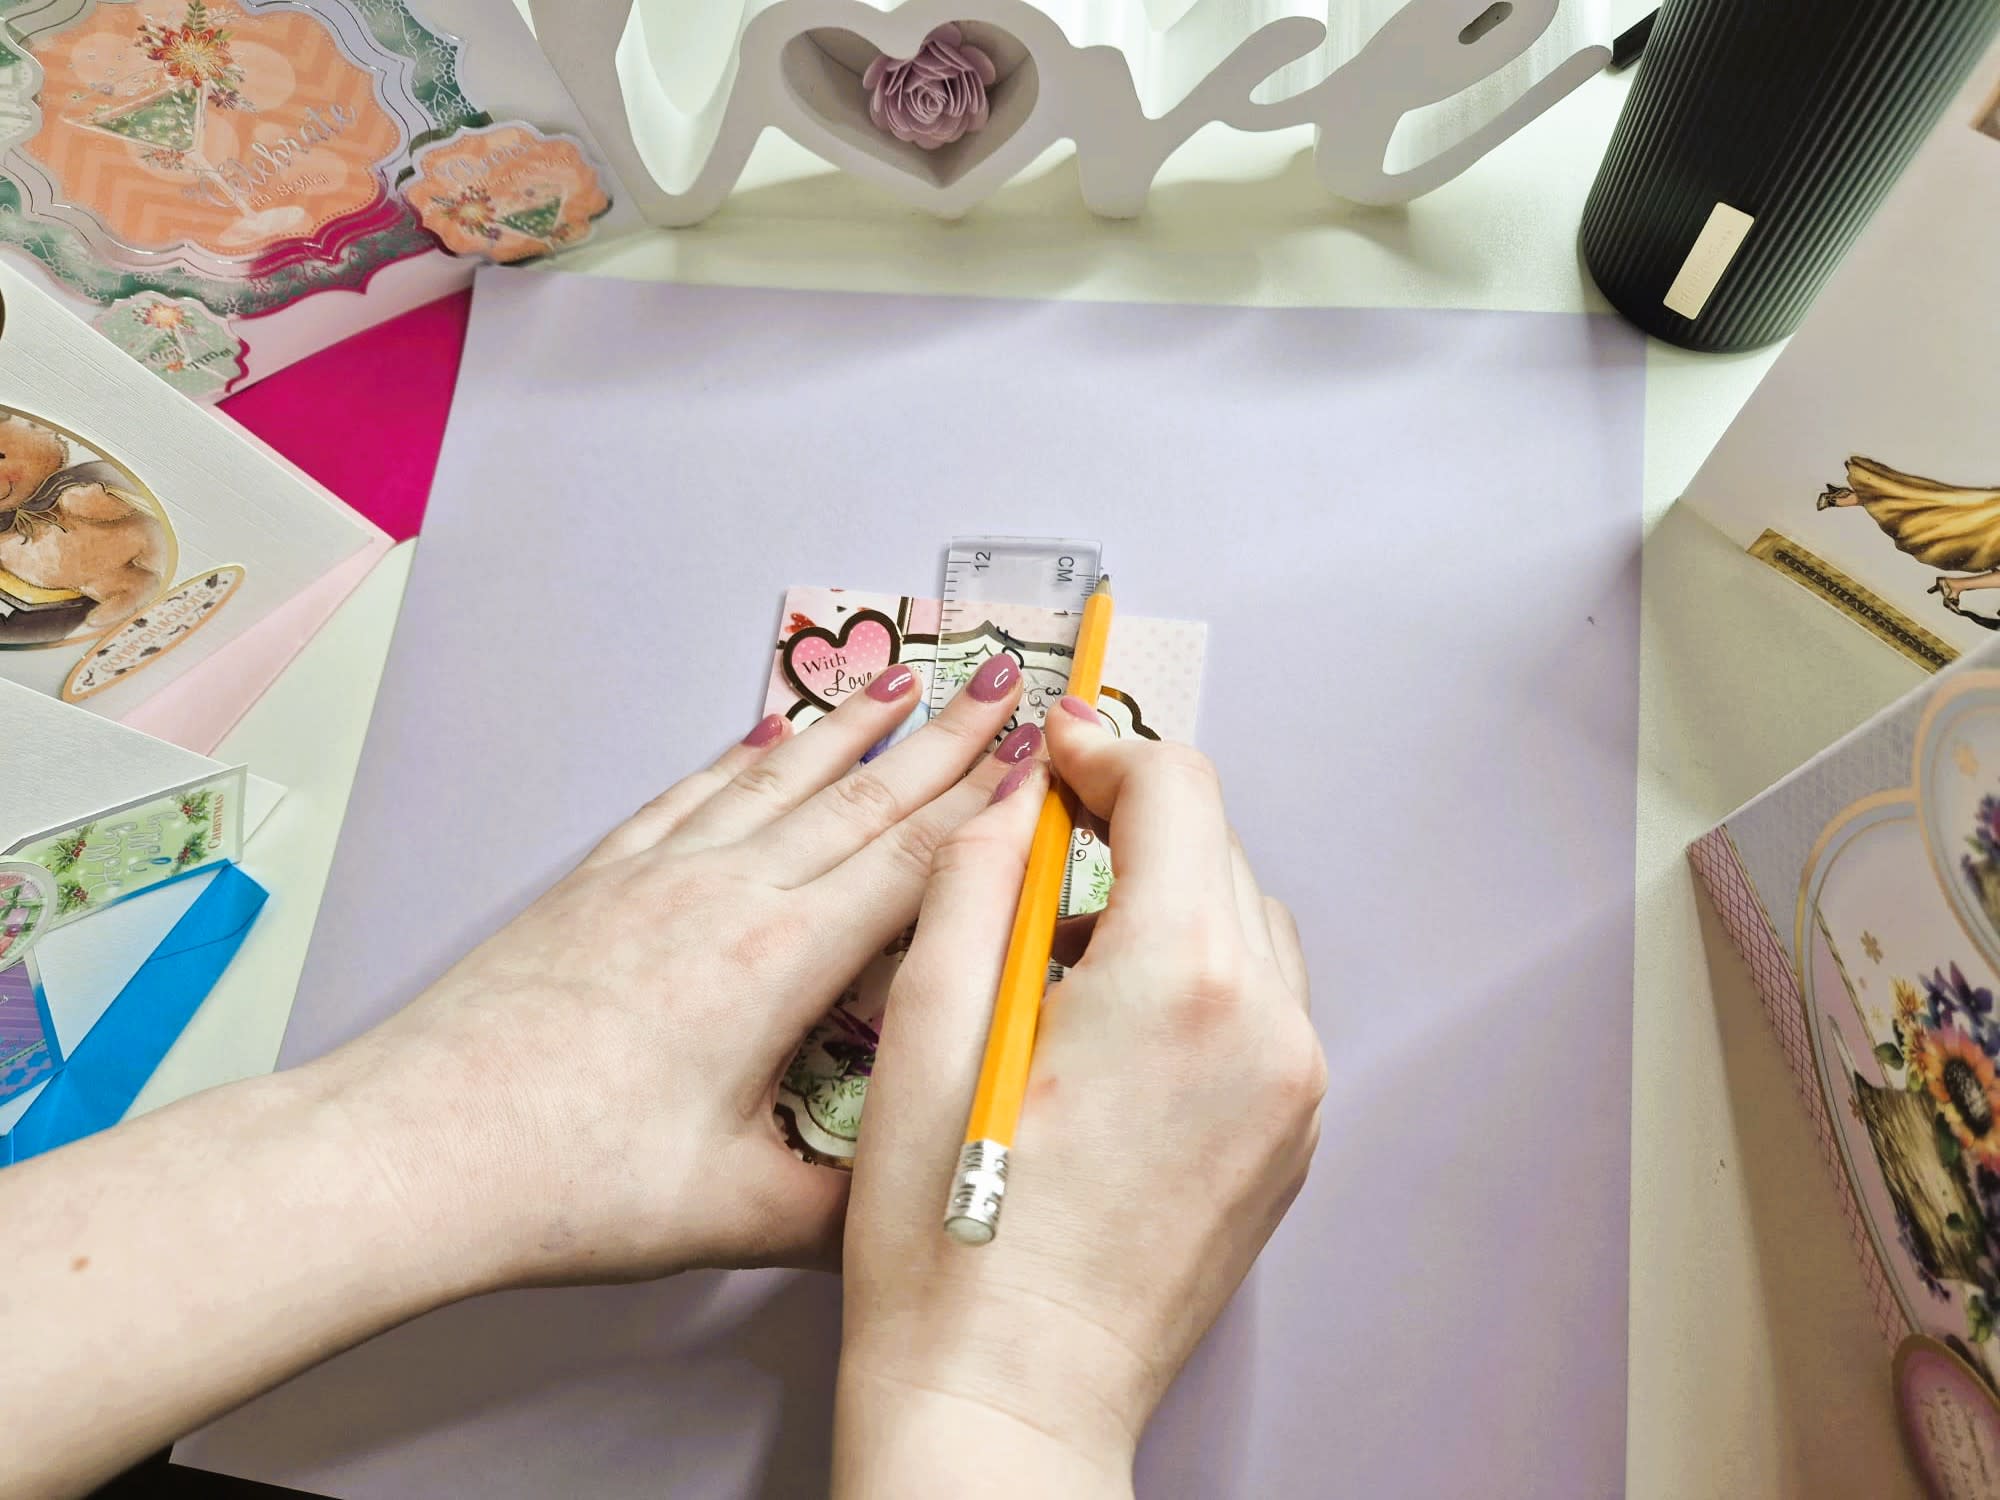
  2. • Side flaps: Each side flap should be approximately ½ of the width of the card.
    • Bottom flap: The bottom flap should be ½ of the height of the card.
    • Top flap: The top flap is usually slightly larger than the bottom flap for a secure closure, typically just over ½ of the cards height.

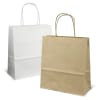
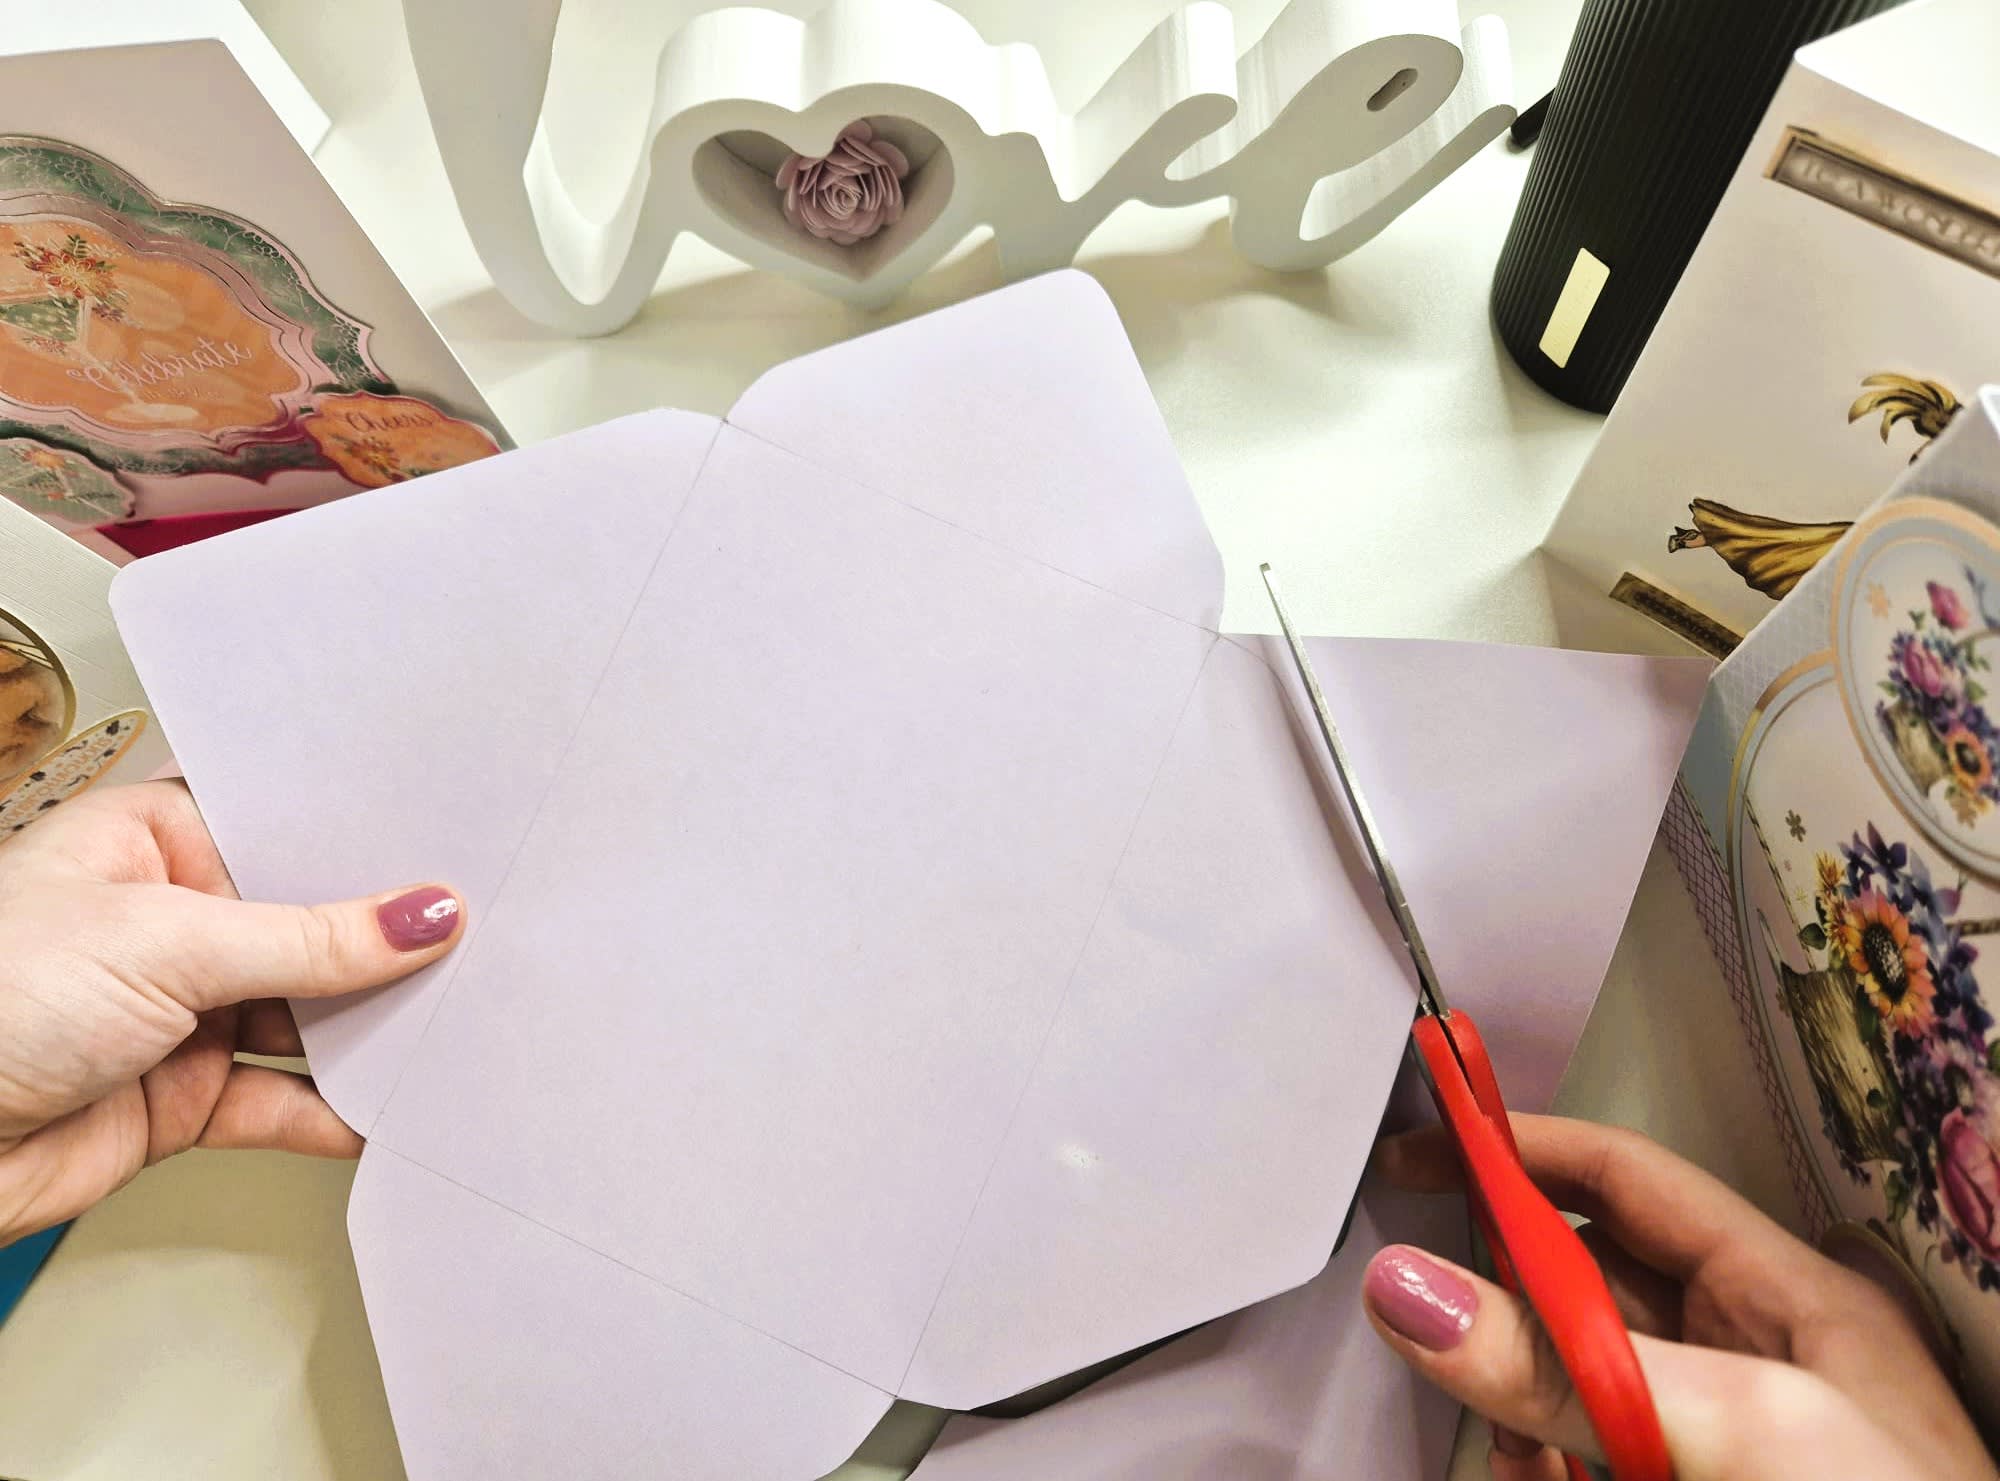
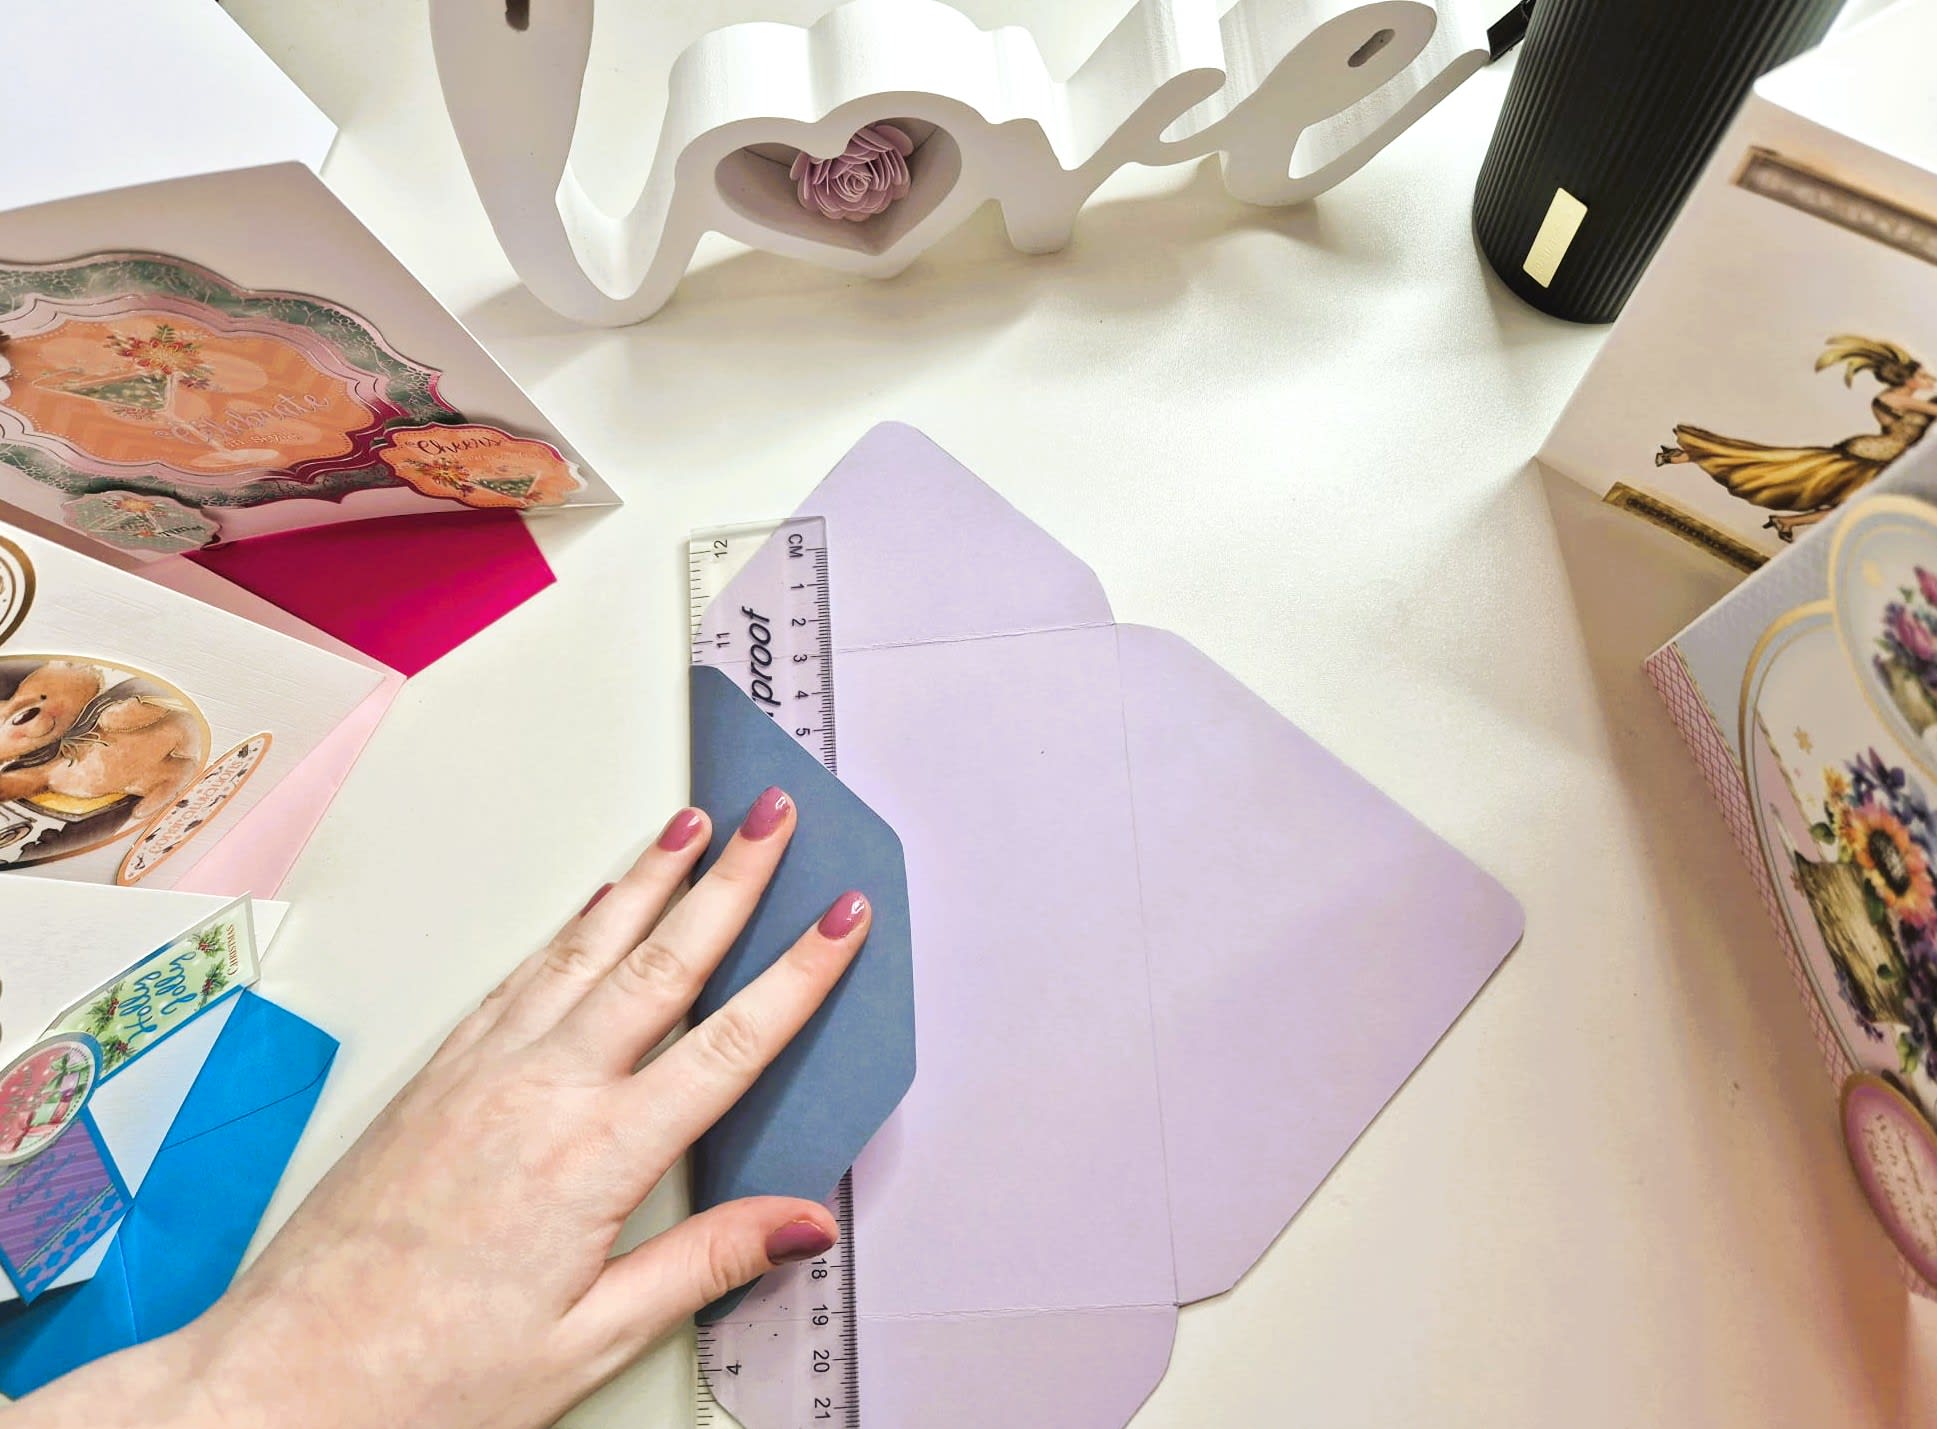
    These flaps will form the sides of your envelope. If you're unsure about how to draw the flaps yourself, you can search for an envelope template online, print it, and trace it onto your paper or card. Alternatively, you can use our die cut envelopes for a quick and professional finish.

  3. Cut out the entire shape using the scissors.
Create the envelope template

Step 3: Fold Your Envelope

  1. Fold the two side flaps inwards.
  2. Fold up the bottom flap to meet the side flaps.
  3. Leave the top flap unfolded for now.
Fold your envelope

Step 4: Assemble the Envelope

  1. Apply double-sided tape or glue to the edges of the bottom flap where it overlaps with the side flaps.
  2. Press firmly to stick the flaps together. Your envelope is almost complete!
Assemble your envelope

Step 5: Final Touches

  1. Place your card or note inside the envelope.
  2. Fold down the top flap and seal it with a bit of glue, tape, or a decorative sticker if desired.
Envelope final touches

What size paper or card should I use for making an envelope?

For this method, a 12 x 12 inch square paper is a good size. This provides enough space for most standard card sizes. If you need a larger envelope for bigger cards, you'll need to use a larger sheet of paper.

What is the best way to seal an envelope without glue?

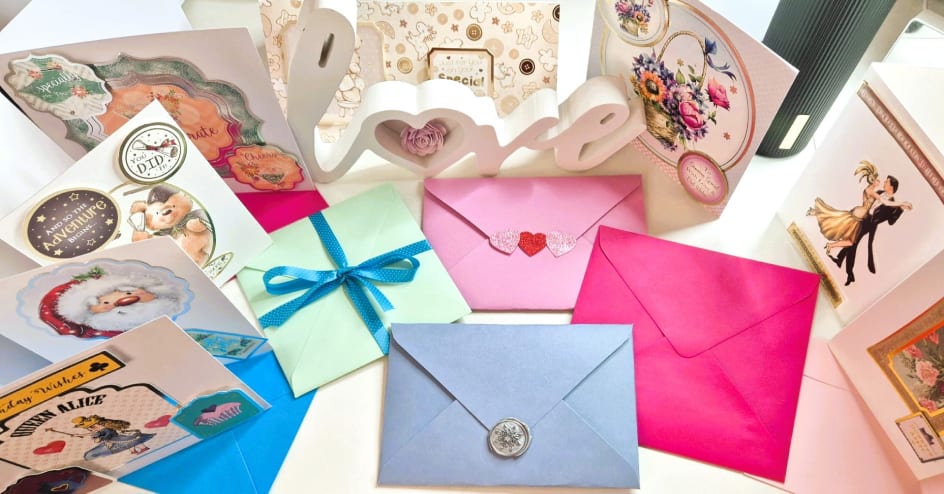
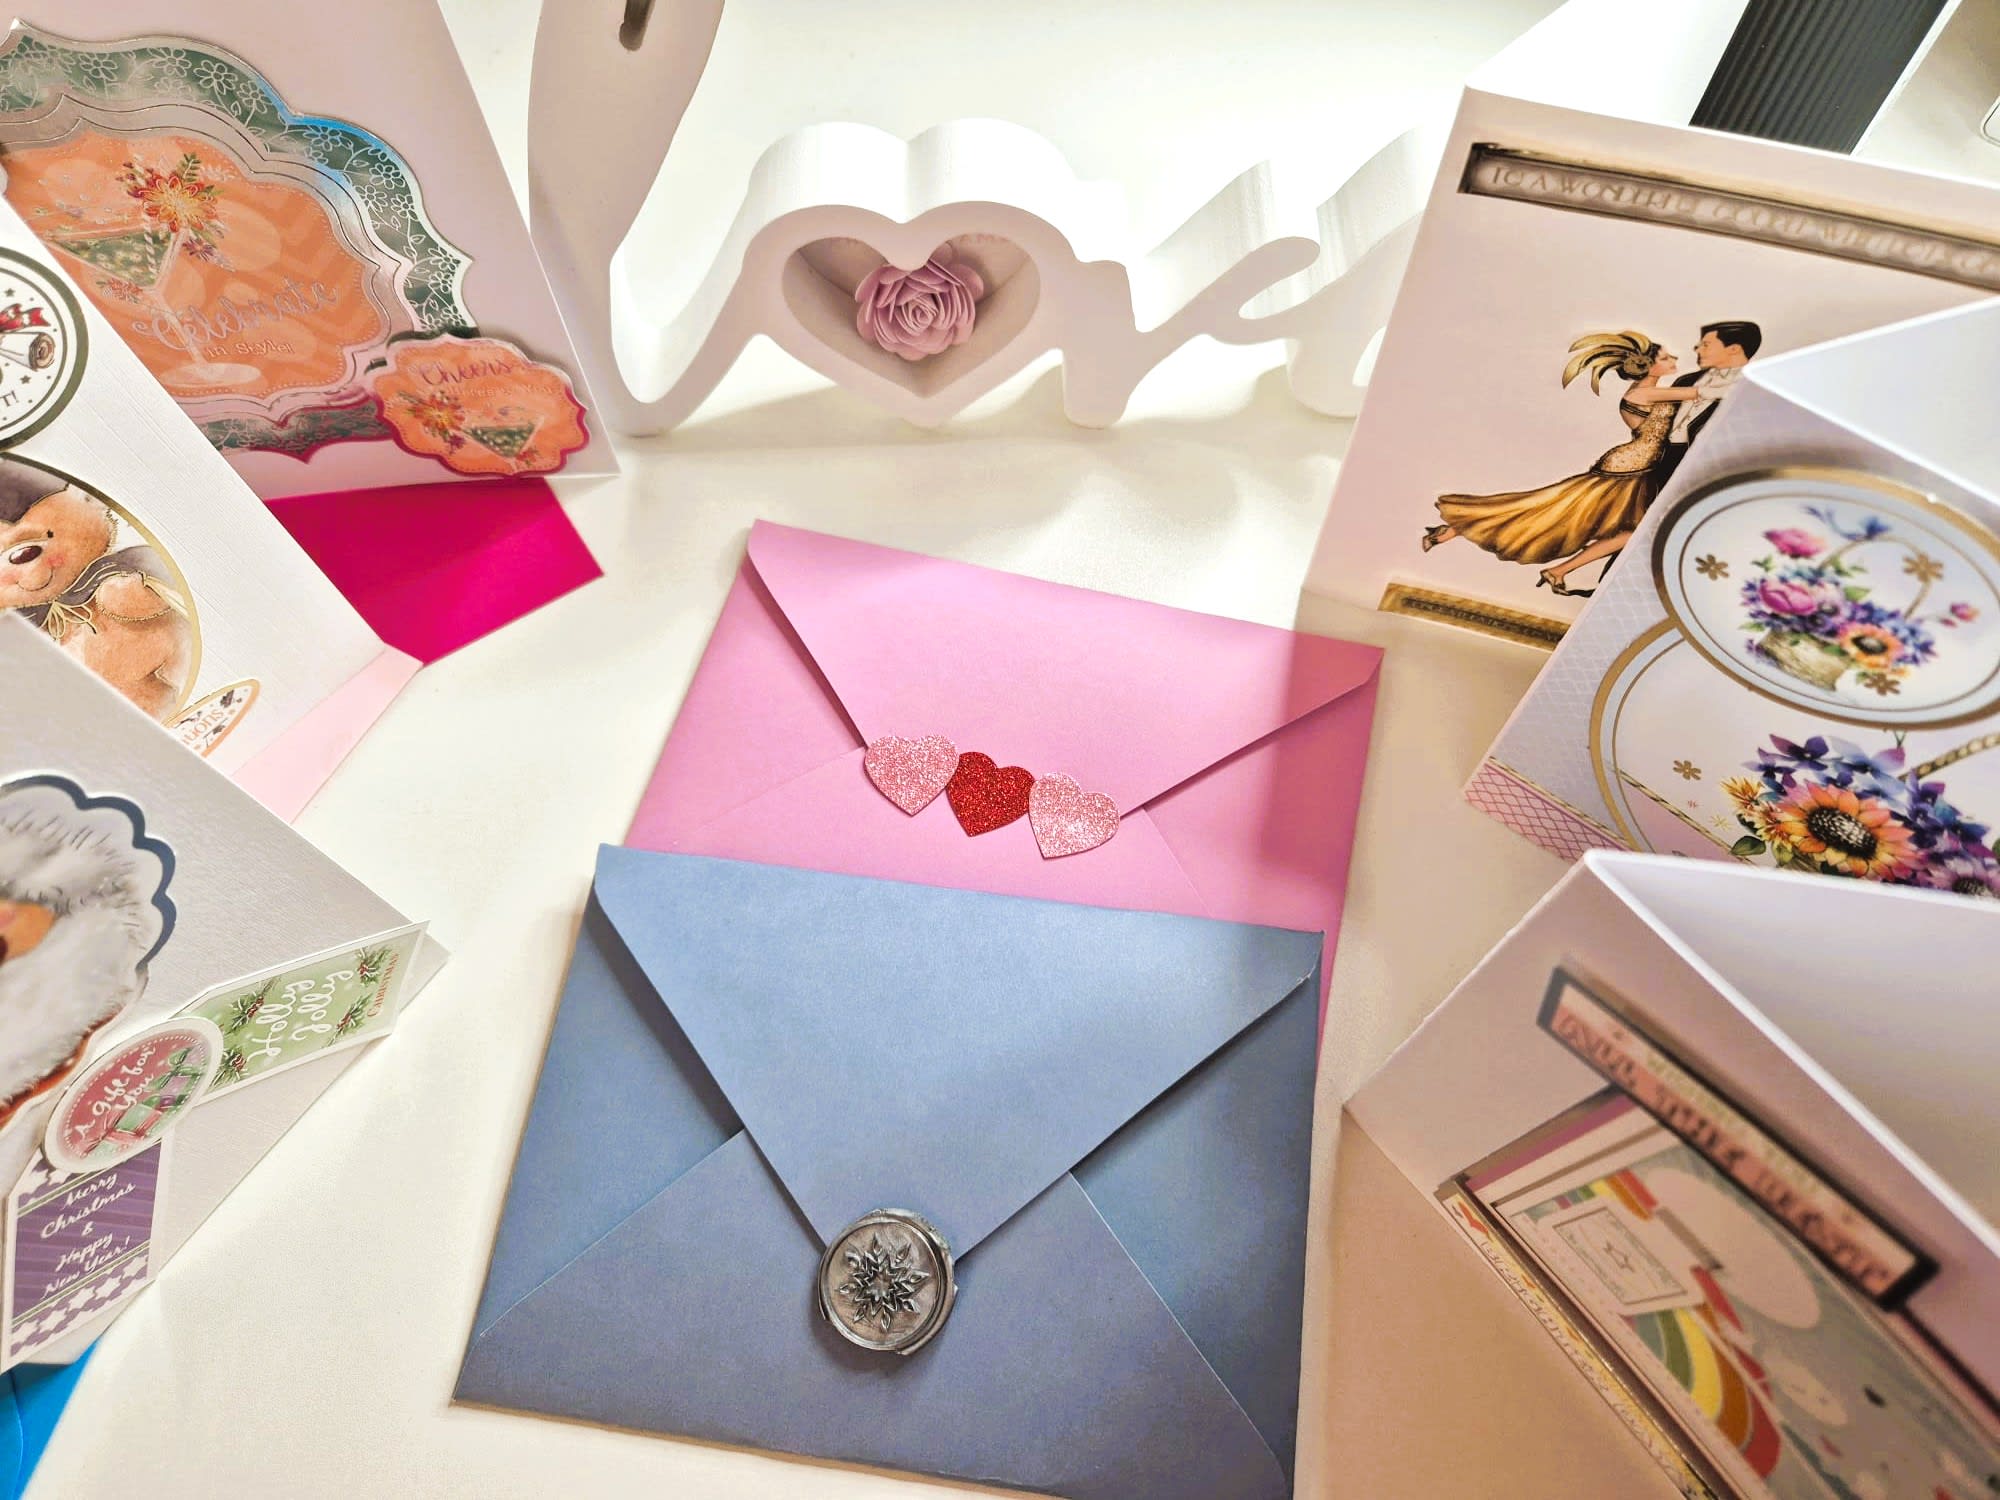
If you don’t have glue, you can seal your envelope using double sided tape, stickers, decorative washi tape, or even a wax seal for an elegant finish.

Can I mail a handmade envelope?

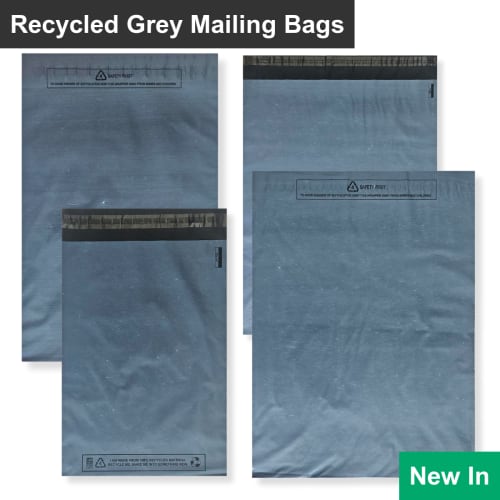
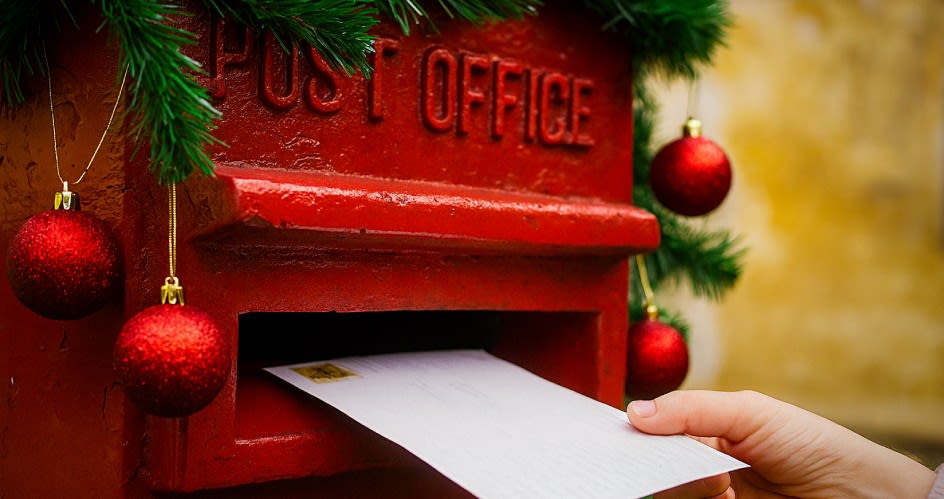
Yes, you can mail a handmade envelope as long as it meets postal regulations. Ensure it is securely sealed and includes the correct address and postage. Using sturdy paper or card helps prevent damage in transit.


Subscribe for latest news and offers
To get our newsletter please enter your email address in the box below and press 'Subscribe' button.